C/C++ development on Windows in VS Code and WSL2 #1: terminal apps
There is a lot of toolchains for C/C++. Although there are IDEs, some developers prefer using text editors and manual compilation. On Windows you can use VS Code and so called Windows Subsystem for Linux to compile like on native Linux system.
Installation
VS Code installation
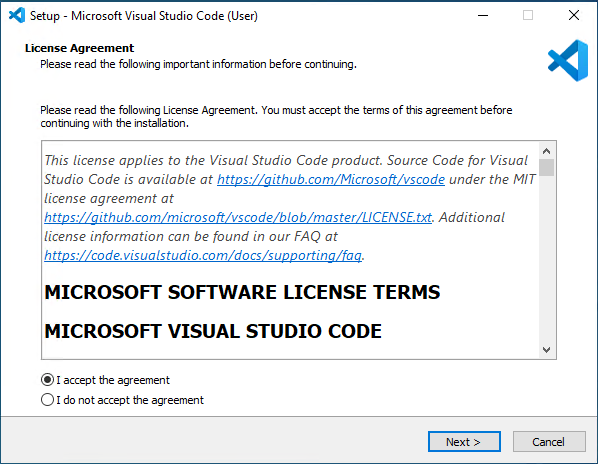
- Download an installer from the official website.
- Install.
Yes, it’s as simple as that.
WSL2 Installation
This step is a little bit harder, you can follow official instructions here. As for the distribution, I use Ubuntu. Please note that this will install the Hyper-V, so if you use VirtualBox, you won’t be able to use VT-x/AMD-v feature.
GNU compiler and debugger install
After the successful installation of WSL2 it’s time to install build tools. On Ubuntu, all required packages can be installed with:
sudo apt update
sudo apt install build-essential
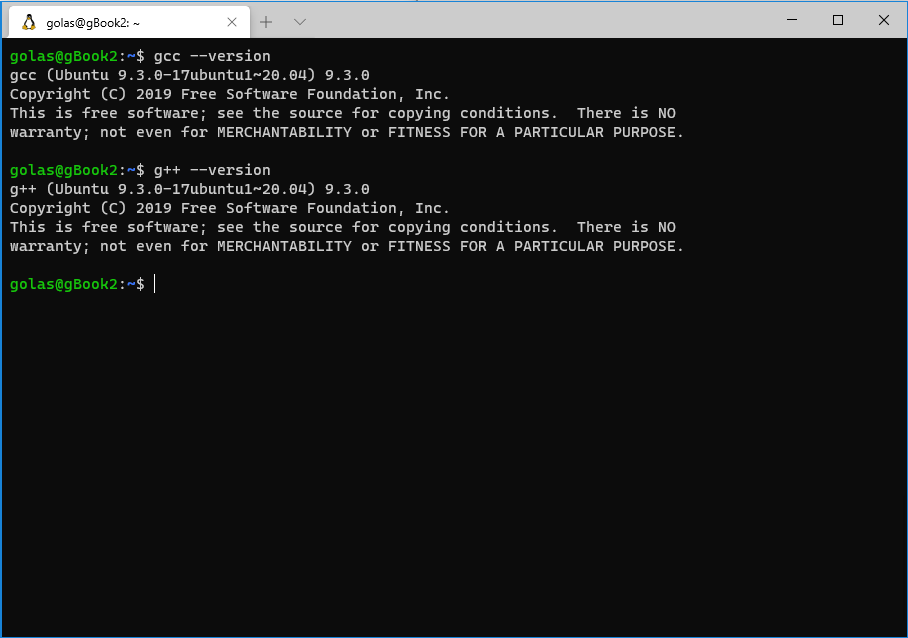
Now verify the installation:
gcc --version
g++ --versionConfiguration
Create a project directory via bash:
mkdir folder_nameor via the GUI:
explorer.exe .Change to the newly created directory and open VS Code:
cd folder_name
code .
Do not forget the .
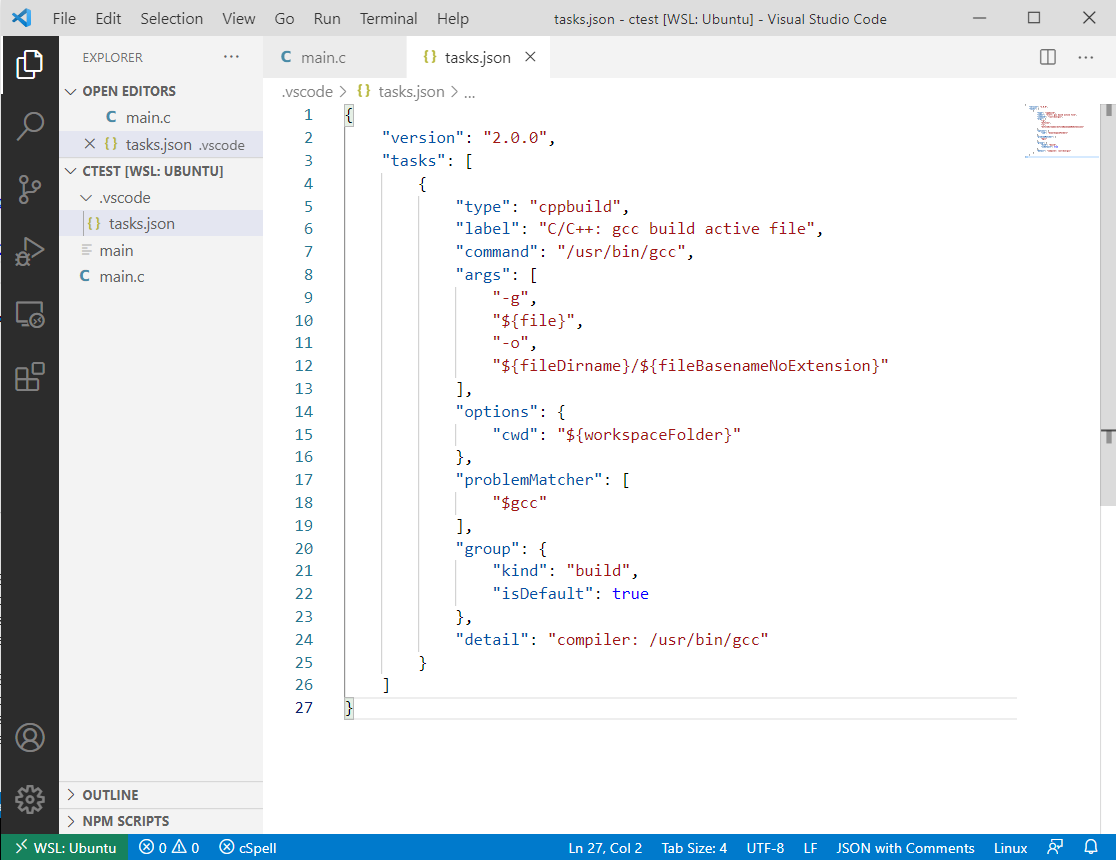
You should see WSL: (distro name) in the bottom left corner of the VS Code.
Now it’s time to create a simple Hello World program to test the build tasks:
#include <stdio.h>
int main(){
    printf("Hello World!\n");
    return 0;
}- Click on the
TerminalandConfigure Default Build Taskin the title. - Select
C/C++ gcc build active file. - Open the previously created program.
- Press Ctrl+Shift+B to run the task, gcc output will be in the terminal.
- Click on the
TerminalandNew Terminal. - Run the compiled program by
./program_name.
The task can be further edited, it’s saved in the .vscode/tasks.json file.
Usually you’d want to change command to /usr/bin/g++ and add or replace some arguments in args.
Notes
This configuration is great for simple projects. Because VS Code is not an IDE, it does not store any additional ‘project’ files except the configuration (e.g. tasks.json). You can always run the build manually by opening the terminal and running the compiler.
For more complicated projects it’s handy to use the Makefile. This technique will be discussed in the next chapter.


